Showing posts with label Rimmel. Show all posts

Tuesday, June 4, 2013

Janet Van De Graaff* Would Love These: Rimmel Show Off Liquid Lip Lacquers

Okay. So, way back in December, a blogger that I just adore posted some swatches of a brand new long-wearing liquid lipstick from Rimmel. The shades were gorgeous, and Rimmel's a good brand, so I was gutted to learn that Apocalips (how cute is that?) were only available in the UK.

Well, fast-forward to last week, when Rimmel released their line of Show Off liquid lip lacquers (read: Apocalips) here in the States. I was so excited, that I ran to my nearest Walgreen's to grab one of these $4.99 beauties before they flew off the shelves!

Okay, okay...I got two. Sue me.

The first one that I picked up was Celestial, which you will not see here because I am a horrible photographer and none of the photos turned out worth a darn. It's a really lovely peachy-beige, if that's any help. The second one, though, was Big Bang, and it's a true red. Seeing as I was just hired to be in an Andrews Sisters tribute group (that's a whole 'nother story), I could definitely use a long-wearing, pin-up red.
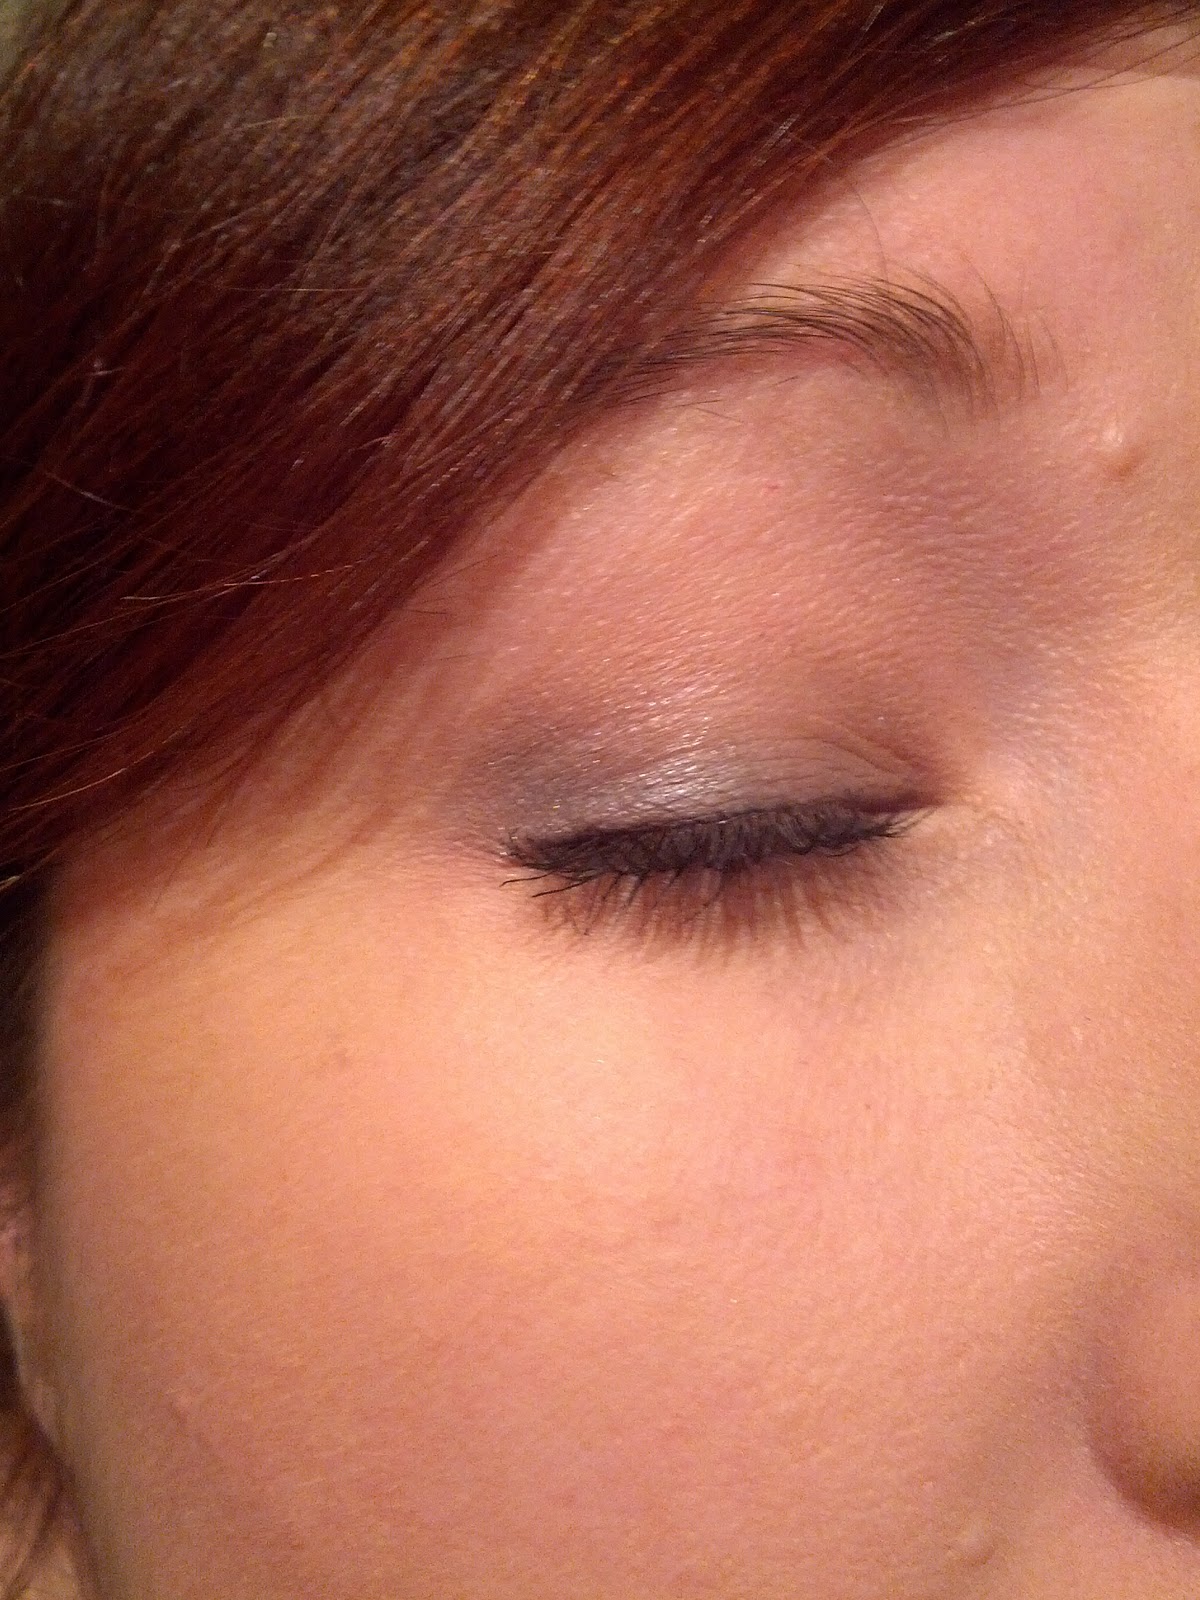
Now 50% Blurrier!
The packaging is flat-out cool. It's identical to the UK version, with the exception of the name change. The tube is just shy of cellphone length, and features a faceted cap in black that gradates down to a clear bottom half, which displays the color inside. The Rimmel branding and Show Off name are in silver foil. My one complaint is that the shade name can only be found on the little safety sticker, so you can't peel it off unless you have a fantastic memory for color names. I don't.
You know what red lipstick is great for? Learning that your lips are really asymmetrical.
The Good: The doe-foot application is smooth and even, and the pigmentation is top notch. The product is insanely glossy, and that gloss remains even after blotting (as you can see from the above photo. Yup...that's blotted). Eating and drinking does affect the wear time some, but without eating, and with drinking only through a straw, it can go four hours, easily. Not too shabby for five bucks.

The Not So Good ('Cause It's Not Really Bad): The smell. It smells like aloe vera, which is really strange, since there isn't any aloe vera in it, that I could find. Luckily, that does fade after application, so it's not unbearable. This is also a very drying product. After four hours, my lips were pretty much screaming. You can apply a balm over the lipstick to help with the dryness, but there's a process:
  • Apply the balm, which will ball up and remove some of the color in patches.
  • Blot off the excess balm, removing the flakes.
  • Reapply lipstick over balm.
So, yeah...that part's kind of a pain. There is also some feathering, but that's to be expected with bold colors. You should also exfoliate and moisturize before applying, but again, that's the norm. Also, please bear in mind that, while this is long-wearing, it's still prone to transfer.
I really like this lipstick for those times when you know you're not going to be able to touch-up for a while. Filming, stage work, weddings (just be careful kissing!)...any time you need to look really good for a really long time, but also need to be fairly low-maintenance. Would I wear it every day? God, no! It's way too drying. Will I pick up every color? Not on your life. I'm definitely more of a lip gloss girl, and rarely wear "real" lipstick. Can I recommend this to others? Absolutely.
Final Verdict: This is a lovely product with great staying power and an even greater price tag. Pick up a couple if you're into shiny lipsticks. 7 out of 10.

*For those of you who aren't musical theatre geeks, like myself, Janet Van de Graaff is a character in The Drowsy Chaperone, and she sings a song called "Show Off". The more you know...


Tuesday, May 7, 2013

Just In Time for Mother's Day: Norma Bates Makeup Tutorial


Photo Credit: Fanpop

I admit it, I'm completely addicted to Bates Motel. Dear God, the people in that town are so weird, they probably vacation in Twin Peaks to escape the crazy. Freddy Highmore absolutely breaks my heart week after week (someone just hand him his Emmy and Golden Globe now, okay?), and Vera Farmiga brings such life and humor to an iconic character--that, up until now, has remained (mostly) unseen--that you can't help but be drawn into Norma Bates' special brand of cuckoo. If you haven't seen it, yet, I highly recommend it. It's soapy and silly and melodramatic and nuts and visually striking and frustrating and laugh-out-loud funny and gut-wrenching...and you'll love it.

Now, I look nothing like Vera Farmiga, but I'm in love with how the makeup department has her looking for this role. Norma's makeup style is soft, romantic, and classic. This is great for everyday, and appropriate for any age, so, for kicks, I thought I'd try to recreate it. I think I got pretty darn close, too.

Photo Credit: The Backlot
In the two reference photos, you can see that her eyes are done in soft gray, while her cheeks and lips have just a subtle hint of pink. Overall, the products are matte, though the gray shadow could possibly have a little shimmer to it. It's hard to tell. I like shimmer, so shimmer it is!


I started off with CoverGirl 3-in-1 foundation and a little Maybelline Age Rewind concealer, followed by Rimmel Stay Matte powder. Then I swept W.O.S. from the Urban Decay Naked Basics palette all over the lid, up to the brow bone. After that, I ran Naked 2 from the same palette along the crease. Next, I placed Gunmetal from the Naked palette in the outer corner and lashline, then used a fluffy brush to blend it across the lid and into the crease. Using a flat brush, I lined the lower lashes with Naked from the Naked palette, then ran the UD 24/7 Glide-On pencil in Zero along the top lash line, concentrating it at the roots. I finished off the eyes with Buxom Lash mascara on the top lashes, and on the outer corners of the bottom lashes. The brows are filled in with Naked 2, then set in place with E.L.F. clear mascara.

On the cheeks, I used Dollface (baby pink) from Tarte's Amazonian Clay line. I kept it more as a contour, but will probably go ahead and bring it onto the apples next time. It looks like Norma's is on the apples in some photos, but not in others. Personally, I like it on the apples. The lipstick is NYX Soft Matte Lip Cream in Stockholm, and looks pretty dead-on. It may or may not be what they use on the show, but, if not, it's a definite dupe for it.

Funny thing about photographs: they don't represent real life. In person, my foundation matches my skin exactly. On camera, my chest and arms look pinker than my face. I swear, I didn't walk around looking like I had Snookie's face on Snow White's body. It's just the camera. Still...yipes!

I kind of love this look. It's great for everyday, but could easily be amped up for after work. I think I might trade the black liner for a deep purple next time, and might line the lower lashes a little more heavily, just to make it a little more "me". What do you guys think?

Wednesday, April 10, 2013

Fake It Till You Wake It: Rimmel London Scandal Eyes Waterproof Kohl Eyeliner

My eyes suck.
 
Between living in the pollen capital of the world (okay, that's an exaggeration. It's just one of the highest counts in the nation), being allergic to life in general, and having an awesome job that I love, but requires me to get up with the chickens on the weekends, my eyes look pretty rough. They've earned it.
 
Over the past little while, I've been hearing about how using a nude liner on your waterline could really brighten up your eyes. White has always seemed a little harsh, and more fitting for Halloween or stage makeup, but the thought of nude made sense. It would, effectively, just act as concealer for the redness in that super delicate, hard to get to area. Cool. Beans.
 
Not wanting to spend an arm and a leg on a high-end waterproof liner--especially not knowing if this trick would even work on me--I was thrilled to find that Rimmel London had their own version (aptly named "nude") in the very affordable $4-$5 range. I snapped one up and gave it a go. Here's the lowdown:
 
The Good
  • This pencil applies very smoothly, and does leave your waterline looking much brighter and more awake. The difference is actually pretty darn staggering.
  • The color is a beautiful, creamy flesh-tone that matches my waterline perfectly. If you have a very pale, slightly pink skin tone, you could probably use this as a spot concealer in a pinch. I tried, and it worked fairly well, but was just too pink for me.
  • It is waterproof and smudge-proof. I swatched it on my hand, waited a minute or two, then rubbed hard to see if it would move. Nope! Then, I splashed a little water on it and wet my finger and rubbed again. Again, nothing moved. That's what I call waterproof.
  • Lastly, the packaging is nice. You do have to sharpen this pencil, but that's a plus if you do makeup for other people. The pencil, itself, is the same color as the product, and has silver foiled writing on the sides, and a clear cap. It's sleek and looks lovely in my makeup organizer.

The Bad
  • It doesn't stay on my waterline. When I first apply the product, it looks fantastic. Within a very short period of time, though (less than an hour, in some cases), it begins to fade. That's unfortunate, but it could just be my eyes. I haven't had good luck with darker liners on the waterline, either. Even the Urban Decay 24/7 tends to shift a bit on my waterline, and it's supposed to be practically bullet-proof.

I'm going to keep using this product. If nothing else, it'll look good when I first put it on, and I can carry the pencil in my purse for touch-ups.

Final Verdict: If you can wear liners on your waterline, give it a shot.  8 out of 10.

Wednesday, September 19, 2012

Audition Makeup: Camera Look Inspired by Victoria's Secret Angels

This morning, I had an audition (please keep your fingers crossed for me)! I knew that it would be on-camera, and that I should look like "me", only better. I also knew that I needed a look that would work under studio lighting without leaving me totally washed out. That's about the time I got one of those umpteen-thousand daily emails that Victoria's Secret sends their customers, and realized that what I needed was an Angel. Well, her makeup, anyway.

VS "Angels", if you didn't already know, are the models for the lingerie/clothing/beauty company. They have glowing skin and just enough makeup to look naturally gorgeous. If you want a beautiful look that doesn't overpower your features, but simply enhances them, this is one to go for.

So, without further ado, I give you my take on the VS Angel look:

Holy Crud. This looks like a Glamour Shot I had done when I was 13.
Taken with a cell-cam, natural lighting from window and overhead light behind me. No re-touching.
Okay, when you're working with harsh lighting for video, you can't go too "glowy". It just doesn't look good. I can't really describe it, but the video camera hates shimmer, glitter, and glow. Dewy is okay, as long as you don't go overboard. I've found, through trial and error, that it works best to go for a "lit from within" look. If you prep the skin so that--without foundation--it looks all bright and shiny, you can get that glow even with a more camera-friendly matte foundation.

I started by using a cooling eye gel on my eyes to relieve puffiness, and leaving that on while I worked on my hair. After I washed that off, I used a brightening vitamin-C serum on my entire face and neck, and a brightening eye cream under my eyes. Finally, I used a radiance-boosting primer. I might add that I really started all of this the day before by applying a light layer of sunless tanner to my entire body, since I'm practically black-light reflective. That's purely optional, of course.

Once my skin was prepped, I pulled out my Ben Nye matte foundation palette. This is full-coverage and comes in a wide range of shades. I highly recommend it for anyone who does work in front of a camera. I used the shade that best matched my skintone (Cameo, if you're wondering), and applied with a sponge wedge. I pressed the foundation into the skin to work it in as best as possible, since I'm sure nobody wants to see my pores in full HD. Then, I used a creamy, full-coverage concealer under my eyes and on any blemishes or discoloration, and set the entire face with full-coverage matte powder (Rimmel Stay Matte).

For the eyes, I started with a flesh toned eye primer from lashes to brow. Then I used a bronze-y brown shadow pencil on my lid and blended it into the crease. I also ran the same color under my lower lashes. I then took a matte milk chocolate shadow (Urban Decay Tease from the Naked 2 palette) and darkened the crease area. A pale pink satin shadow (Bootycall from Naked 2) went in the brow area. I then used a gold highlighter in the inner corner (Benefit Sun Beam) and ran a shimmery pale pink shadow pencil on my lower waterline. Another lighter brown shadow pencil ran under the lower lashes to help blend out the bronze shadow. I lined the top lash line with black pencil, thickening the outer corners for a not-quite cat eye effect, and brought the black liner onto the outer corners of the lower lash line to deepen the color. Finish the eyes by filling in brows and applying mascara to top and bottom lashes. I suggest curling the lashes to open the eyes more.

For the cheeks, apply a matte bronzer to the outer cheek area (by your ears) and blend inward. Don't hit your apples. A satin bright rose blush goes onto the apples and blends outward into the bronzer. This way, you get a little contour and some color without looking like you striped your face. You can also apply some of that matte bronzer to your hairline and anywhere else you would normally be "sunkissed". Finish the cheeks by adding a shimmery powder highlighter--the only shimmer allowed!--to the cheekbones and, if you want, browbones.

On the lips, I used a rosy nude pencil to line, and filled in with a rosy pink lipstick. I added a dab of a coordinating glittery lipgloss to the center of my lower lip and pressed my lips together to distribute. That keeps the majority of the shine in the center of your lip, but blends it out naturally. Finally, I spritzed the entire face with a setting spray. If you have an HD powder, a quick powder down before you set is a good idea. I couldn't find mine..It's been one of those days.

I hope this helps some of you who might be trying to figure out the best makeup for on-camera auditions. We actors have to stick together. :)

Tuesday, August 28, 2012

Theme Park Makeup, Part Trois

*Ed. Note: This is the third in a multi-part series. The first two can be found here and here

Well, we're still waiting on the still-tropical storm, and everything's closed, so I thought I'd post a quick "this would work on water rides" theme park look. I put it on to withstand torrential rains (in case I have to get out in it), so it should be able to handle Universal's Jurassic Park flume. You know, theoretically. Nothing is going to be totally waterproof, but maybe you won't have to run to the ladies' room, bypassing GO and $200, to wash off the raccoon eyes.


Oooh! It's so fuzzy I'm gonna die!!!!  This is the only snapshot I got before realizing the rain had started and the puppy was still playing outside. Seconds after this photo, I dropped the cell phone, and ran like heck to let in a dripping chihuahua, who proceeded to shake all over the living room, and run me all over the house to get his wet T-shirt off of him, then refused to let me put a dry one on him until after I'd let him pick it out first. Yes, he had to choose his own shirt. It has the Avengers logo on it. I'm proud.

Anyhoo, here's what I used:

Too Faced Beauty Balm
Benefit Boi-ing concealer
Benefit Creaseless Cream eye shadow in Sippin' 'n' Dippin' (lid and crease)
Urban Decay 24/7 Shadow Pencil in Rehab (crease and lower lash line)
Urban Decay 24/7 Glide-On Eye Pencil in Zero (upper lash line)
WATERPROOF MASCARA--I still don't have one. I can't decide!!! Anyone have a favorite to recommend?
MAC Cream Color Base in Virgin Isle (applied to cheeks with Real Techniques stippling brush)
Benefit Watt's Up highlighter (brows, inner corners, and cheek bones)
E.L.F. Brow Kit in Medium
Revlon Lip Butter in Cherry Tart
Rimmel Stay Matte powder (just to set concealer and maybe T-zone, if you think you need it)

I used my fingers for everything but the blush, brows, and powder. This is, really, a very travel-friendly look. There are eleven products, but they're all very small, and I threw this look together in less than ten minutes. Honestly, I didn't time it, but it was probably more like five minutes. The most difficult part was deciding which products to use.

Now, you've probably noticed that all of these park looks have been neutral. Keep on the look-out for a very colorful post coming up soon!

Monday, August 27, 2012

Stormy Weather: Hurricane-Inspired Makeup Look

There's a hurricane a-comin'! A HURRICANE A-COMIN'!!!

Or, you know, something like that.

My home is in a state of emergency, and just barely outside of a mandatory evactuation zone, so Thomas and I have spent the weekend preparing for the worst and hoping for the best...which would be a day off from work and just enough rain to knock the pollen off the cars. Right now, it's absolutely gorgeous outside, so I decided to celebrate the beautiful weather with a colorful, Hurricane cocktail-inspired (sunset-colored), almost Fall makeup look.


I like it. It kind of makes me think of a 1920s flapper, but maybe I'm just weird. Here's how it breaks down:

Skin
Primer: Tarte Clean Slate
Foundation: MAC Studio Sculpt in NW15
Concealer: Benefit Boi-ing
Powder: Rimmel Stay Matte
Blush: NARS Orgasm
Highlight: MAC Mineral Blush Duo in Moon River
Eyes
Primer: Benefit Creaseless Cream Shadow in Sippin' 'n' Dippin'
Shadows: Stila in Prize, Urban Decay in Free Love, Urban Decay in Woodstock, LORAC in Sand
Liner: Urban Decay 24/7 Glide-On Eye Pencil in Zero, Urban Decay in Suspect, Urban Decay in Dark Horse
Mascara: Buxom Lash in Black
Brows: E.L.F. Brow Kit in Medium


To get the gradated effect, I began with Prize in the inner corners, and took it a third of the way across the eye. I added a thick layer of Free Love to the center third of the eye, and a thick layer of Woodstock at the outer corner. I blended Woodstock through the crease, then used a fluffy blending brush to sort of rake the color across my lids, going from hot pink to gold, only in one direction. Under the eyes, I lined the lash line with the same colors, in the same order, then used a thin line of Suspect to blend them together. Dark Horse lines the outer half of the lash line. Sand fills in the area from crease to brow.


Lips
Liner/Lipstick: Buxom Big & Healthy Lipstick in Bombay
Gloss: Buxom Lips in Amber
I hope you enjoyed this! I know I had fun putting it together. For those of you down here: stay safe!! For everyone else: have a great Monday, and I'll try to post tomorrow. Comments? Leave 'em below!

Monday, August 20, 2012

UPDATED! Five Dollar Find: Rimmel Clean Finish Foundation Review

It's still hotter than hades around here, and the humidity is so thick in the air, you practically need to breathe through a straw. The thing is, in another month, we'll be in sweaters. They'll be lightweight sweaters over tank tops, sure, but by Halloween, we'll need jackets. My point is, it's almost that lovely time of year when tinted moisturizers and beauty balms make way for heavier foundations. I guess I need to get one...

So, I'm on the hunt. I already tested out the Urban Decay Naked Skin, which was unbelievably gorgeous, but caked a bit and didn't last in the humidity. Still, it's in the running, since it won't be a gazillion degrees and muggy when I actually go to wear it. It is pricey, though, so I thought I'd check out the other end of the spectrum, and try the super-inexpensive Rimmel London Clean Finish. $4.99, Ulta. I love Rimmel's powder, so maybe this would work for me, too.

According to the bottle, Clean Finish is supposed to leave you 100% poreless. To put it to the test, I applied my True Ivory shade without a primer. Before applying, though, I noticed that there's a little spatula attached to the inside of the lid, to allow you to scoop out however much product you need. I like that. There's no way that spatula will ever reach the bottom or sides well enough to scrape out the dregs, but for now, it's a lot neater than having to try to pour out the foundation, and more hygenic than trying to use a sponge.
Foundation Only. *shudder* You can still see some pores, and a little discoloration around the eyes.

I used a Real Techniques expert face brush to buff the product into my skin. The shade match was spot-on, which is always a nice surprise when you don't get to test out a product in the store. The texture is not heavy, and leaves a not-matte, but not-dewy finish. It's actually a very similar finish to the Naked Skin, but the coverage is nowhere near the same. I didn't see where there was much more coverage--maybe a touch--than my Too Faced Beauty Balm. That almost defeats the purpose of switching to a foundation, but the Clean Finish does photograph better.

Pay no attention to the puffy eyes. It's allergy season. This is just a pretty, inexpensive, decent, everyday foundation. It does photograph much better than a beauty balm, even if the actual coverage is only slightly heavier. That's a good thing.
After several hours of wear, I was pleasantly surprised to see that there was very little settling or caking (and even that was easily smoothed back out), and the shine was minimal and blotted away in a jiff. I was not, however, 100% poreless. If anything, the pores on my nose seemed more prominent.

This is not bad--not bad, at all. It's not the best foundation I've ever used, but it's definitely not the worst. It does the job, and it does it for only $4.99. Is it my Holy Grail foundation? No. But for now, it'll do.

Shade Range: There are what appear to be eight shades of pale. I'm day-glo, and somehow managed to match to the second lightest shade, and not the first. 3 out of 10.

Application: It went on like moisturizer, and wasn't buildable. It did sink into my skin easily. 6 out of 10.

Packaging: I love the spatula, and the glass container is very nice, indeed. 9 out of 10.

Appearance: Natural, not too matte, not too dewy. Light coverage. Not 100% poreless. Photographs well. 8 out of 10.

Wear: Fairly long-wearing. Not oil-controlling. Minimal caking and settling. 8 out of 10.

Price: $4.99. That's a steal. 10 out of 10.

Final Verdict: 7.3 out of 10. It's a decent, light-weight foundation for a dream of a price. Just hope they have your shade.

UPDATE: I've worn this with a primer for a couple of days, and it feels so heavy on my skin, I just want to run in the bathroom and wash my face. This is my usual primer, and I've never had this experience with it before, so I have to attribute it to the foundation. Still and all, I do recommend this as a good drugstore foundation, but I thought, in the interest of full-disclosure, that you guys needed to know this.

Tuesday, July 31, 2012

Already? July Favorites

Well, another month has flown by. My brother starts high school in a couple of weeks, and there are only 69 more days until Mickey's Not-So-Scary Halloween Party. Seriously, where has this year gone?

Anyway, old lady moment aside, here are the products I gravitated toward the most this month. I normally try to choose two items for each category, but this month, I had some clear favorites that blew everything else out of contention. I hope you enjoy!

Eyes
Benefit Creaseless Cream Eye Shadow in Sippin' and Dippin'
I know, I picked this last month, but you know what? It's still awesome. In addition to being a pretty color on its own, it works really well as an eye shadow base. The golden peach shows nicely through bronze shades.

Stila Eye Shadow in Sparkle
Speaking of bronze shades, this is my favorite to layer over the Benefit. It's not glittery, but just shimmery enough to catch the light, and looks fantastic sheered over the lid. Also makes a nice, subtle crease color.


Lips
Revlon Lip Butter in Peach Parfait
I just posted about this the other day, and I can not get enough of this color. I won't bore you with my ravings again. Just go get one.


Face
Rimmel Stay Matte Shine Control Pressed Powder in Transparent
I know I've mentioned this product a bajillion times on here. I keep one in my personal stash and one in my film kit. It is the best setting powder I've ever used. I've tried Urban Decay, Bare Minerals, MAC, Clinique...you name it, and keep coming back to this drugstore pick.

Urban Decay All-Nighter Setting Spray
There is a post coming on this, but here's the short of it: it's supposed to keep makeup from melting off, and it actually does. The end.


Nails
China Glaze in Rainbow
I've really been impressed with China Glaze. I'd never tried them before the Hunger Games polishes came out, and now I can't get enough! This color is an iridescent pink opal that lasts for ages, even without a top coat. Perfect for lazy bones like me.


Body
Ahava Velvet Cream Body Wash in Hibiscus and Fig
This came in my Glossybox, and I've really enjoyed it. I'm seriously thinking of repurchasing when I run out. A travel-size (like I have now) is only $7 at Ulta. That's definitely reasonable.

Satin Care Shave Gel with a Touch of Olay
I've been looking for a good shaving cream ever since my favorite Soap & Glory disappeared, then reappeared at a much higher price. This is it. It's moisturizing, doesn't goop up on the razor, and keeps down nicks and cuts. It's a keeper, and only a few dollars at the drugstore.

Wednesday, April 18, 2012

Building Kits and Looking for Glitz

The indie film company that Thomas founded is filming in a few weeks. There's no crazy hair or makeup involved, and pretty much all of the actors and extras are taking care of their own. Still, I like to keep a kit on-set for touch-ups. Plus, there's always the possibility that someone will show up wearing either no makeup or way too much--I like to prepare for all contingencies. Now, I'm not a makeup artist (and if one would like to volunteer, that would be unbelievably cool and I'd love you forever and be your best friend), but I've been at this long enough to handle the basics to ensure folks show up on camera.

Of course, that doesn't mean I'm breaking out the high-end products. Good God, no! Along with figuring out that extra blush and bronzer are necessary to avoid being washed out by the lighting equipment, I've also learned that anything you bring on-set has the distinct possibility of being broken. You're in a crazed atmosphere, with people constantly bustling by, extension cords as far as the eye can see, and a lot of hurry, hurry, hurry. It's also not a big-budget studio setting, so I might be doing makeup off of a folding table, picnic bench, or, most likely, out of my car. I'm careful, and I keep a neat kit, but accidents happen. I know that if I brought my $25 NARS Orgasm (sorry, Mom) blush, and it was knocked off a table and broken into a million pieces, I'd be devastated. However, if the same thing happened to a $3 copycat...eh, I'd get a new one. Not a big deal.

With that in mind, I hit the drugstore around the corner to pick up a few staples. I have greasepaint out the ears, but my "normal person" makeup was severely lacking. I needed translucent powder, a couple of blushes, and a matte black eyeshadow (every kit should have a matte white, matte brown, and matte black shadow. Period. I've heard this from a few different places, and it's completely true. You'd be shocked how much you can do with just those three products). Rimmel makes a great translucent powder, so that was pretty much a no-brainer. Wet 'n' Wild had a pretty rose blush, along with a peachy pink that looked so much like my NARS it wasn't even funny (I'll have more on those another day), and a matte black eyeshadow that vlogger DivaMakeupQueen raved about recently. But it was while picking up the eyeshadow that I noticed this beauty:


Wet 'n' Wild Color Icon Single in Trashed

This made me think so much of Urban Decay Stardust in Void that I had to give it a shot. For two bucks, even if it was terrible, I wouldn't really be out anything.
Photo Credit: Urban Decay
It's not terrible. Not even close. It's also not even close to Stardust, but it's still a darn good eyeshadow. Trashed goes past "highly pigmented" into "scarily pigmented". Yesterday, I added just a dab to my outer corners, but it blended all the way through my crease, along my lash line, and added a little color to my lid. It didn't sparkle, though, which was a little disappointing. Today, I decided to go whole-hog and do a black lid, just to see how much glitter I could get, and it wasn't much.

I do want to point out that I did not use a shadow brush to apply this. I was terrified of how much fallout there might be from thickly packing on such a densely pigmented soft shadow. Instead, I used my blending brush to pick up enough for a thin layer, and applied two "coats" to each lid. There was almost no fallout from using that method, and I ended up with deep black lids with a lovely satin finish. There's just not very much glitter. Also, the packaging, while attractive, is insanely difficult to open. Like, "keep a butter knife handy" hard to open.
Lid: Trashed, Highlight: Stila Kitten, Liner: Urban Decay Zero,
Inner Corner: Urban Decay Sin, Lashes: Tarte Lights, Camera, Lashes,
Brows: E.L.F. Brow Kit (Med) and Treat and Tame (Deep),
Skin: E.L.F. Mineral Foundation Warm/Benefit Porefection/Benefit Bo-ing
Wow. That looks like a ton of makeup, but it really only took a few minutes. I keep a small stash of seasonally appropriate makeup on my counter, so I don't really have to think too much in the mornings. I'm not good at thinking in the mornings...

Anyway, overall, I'm really happy with my purchase. Sure, I was looking for more glitter, but for two bucks, I really can't complain too much. This one's not going in the film makeup kit. It's going on my counter.

Final Verdict: 8 out of 10. It's beautiful, it's pigmented, it's cheap as all get-out. It's just not glittery, and a pain in the rear to try to open.

Wednesday, July 14, 2010

Going Batty

Photo by CoverGirl
As my husband can tell you (while rolling his eyes and sighing heavily, I'm sure), I have recently been on a borderline-obsessive hunt for something that, apparently, did not exist: a(n inexpensive) mascara that BOTH lengthens and volumizes. Seriously, you would not think this would be that hard. You would be wrong. I can find tons that do one or the other, but very few that do BOTH! For a while, I used Rimmel Glam Eyes ($7.79, Walgreen's)for length, then put on a coat of the CoverGirl LashBlast Luxe ($7.79, Walgreen's) for volume. It worked, but that's a real pain, and you're paying for two mascaras. I also tried the Fresh Magic Wands Mini Mascara Duo ($10, Sephora), and they're fabulous--I look like I have on fake lashes!--but they're super tiny, and the full size set is really expensive ($51 total, Sephora). Plus, it's still two mascaras. That said, they're totally worth it because they're gorgeous, I'm going to replace mine when I run out, and I could write an entire post devoted to their fabulousness, but this is a search for ONE mascara that does both, so moving on.

So far, the best I could find (on the recommendation of an uber-talented cosmetologist friend) was Buxom Lash ($18, Sephora). It's pretty darn wonderful at lengthening and volumizing, and the price isn't terrible. It's the mascara I ended up using all through the Night Shift shoot, and I've been very happy with it. You don't get the false eyelash look you get with the Fresh Magic Wands, but you do get defined, long, full lashes. It's a very pin-up girly look (appropriate, since Buxom names all their products after pin-up girls), since it makes your lashes really pop. It's great for a night out, theatrical performances, or any time you really want your lashes noticed. My only gripes with it are that the wand is too big and cumbersome, and it's not waterproof, so I do have to stay on the look out for raccoon eyes. Both things I can live with.

However, the nice people at BzzAgent asked me if I would be interested in trying the new CoverGirl LashBlast Fusion mascara. It's billed as "COVERGIRL'S first ever volume+length mascara", so I figured, why not? Let's see how the $9 mascara stacks up to the one that's twice the price. Plus, it's a free sample, so I'm not out anything except possibly looking a little sleepy one day if it doesn't work.

Wow. That's really all I can say. This stuff rocks. Now, before I go any further, let me remind you that BzzAgent doesn't require that I advertise the products I try. If I don't like them, I can either voice my opinion (of course) or keep my mouth shut (not bloody likely). Doesn't matter. If I do like something, though, I'm encouraged to let folks know. I like this. I'm letting you know. This. Stuff. Rocks.

The Pros: Doll lashes. Long, full, flirty, seen from across the room lashes. I curled mine, and they actually look like they're touching the brow bone. I kid you not. Also, I've had it on all day, in crazy heat and humidity, through a grueling voice lesson, and I'm not Rocky Raccoon. Amazing.

The Cons: The tube is huge and takes up a ton of space in my make-up case. It's also not the most comfortable thing to hold.

The In-Between: It's not waterproof, but it is "smudgeproof, flakeproof, and rubproof" according to CoverGirl. As I said, I haven't had any smearing or running. It's also not the darkest mascara ever. I got the darkest shade, Very Black, and it's nowhere near as dark as Buxom, but really, that can be too dark for everyday wear, so it's really your call on that.

All in all, I give it about an 8/10. $8.99 suggested retail price, available at drugstores, grocery stores, mass retailers and online.
Related Posts Plugin for WordPress, Blogger...