Showing posts with label dupes. Show all posts

Thursday, September 13, 2012

That "Hollywood Glow" and a Mini-Rant

When I do a makeup look on here, nine times out of ten, it's because when I finished putting on my makeup for the day, I looked in the mirror and thought, "Well, I'll be! That doesn't suck!" My thinking is if I can do it, anyone can do it. Sometimes, we all need a little inspiration, or maybe we're looking for that one "holy grail" product, or possibly just need reassurance that yes, you can wear cranberry eyeshadow and not look like you have an affliction. That said, ten times out of ten, I'm fighting crappy lighting and a cell phone camera to take these horrible pictures that don't do justice to the in-person look. Occasionally, the lighting is perfect and the camera is still, the stars align and the angels sing, and I can get a darn near decent picture. Other times, like today, I have to throw in the towel. And I could just cry...

See, as I've said a gazillion times, I'm not a pro. I'm a theatre and film actress, which does involve a whole lotta makeup, so I have years and years and years of on-the-job experience, but no real training. Every now and then, I'll have a breakthrough that I'm sure is nothing new to anyone else, but it's new to me, and sends me bouncing up to the rafters. Today was one of those days, and I can't get a good picture to save my life. ARGH! You know that lit-from-within "Hollywood glow" you see on celebrities like Emma Stone and Jennifer Lopez on the red carpet, but never on Suzy-Q at the mall? Well, I cracked it, and it's awesome and super easy, and I have no photographic evidence.

Of course, that doesn't mean I can't tell you how I did it. You know, in case you don't already have your own routine.

Alrighty, I started off with a brightening serum. I used the Ole Henriksen that came in my Glossybox, but any brightening serum would do, or you could use a brightening primer, like Benefit That Gal. Then, I prepped my undereye area with a brightening (you can see where this is going) eye cream. I used Super by Perricone, but again, that's just a suggestion, and there are oodles of other, less expensive creams that can work just as well. This is just what I had lying around. Just make sure that whatever you choose is for brightening. Once the skin is prepped, apply a dewy foundation. I chose Too Faced Beauty Balm, but MAC Studio Sculpt would be another good choice, depending on how much coverage you need. You don't want your foundation to be glittery or oily looking, but you don't want a matte or demi-matte finish.

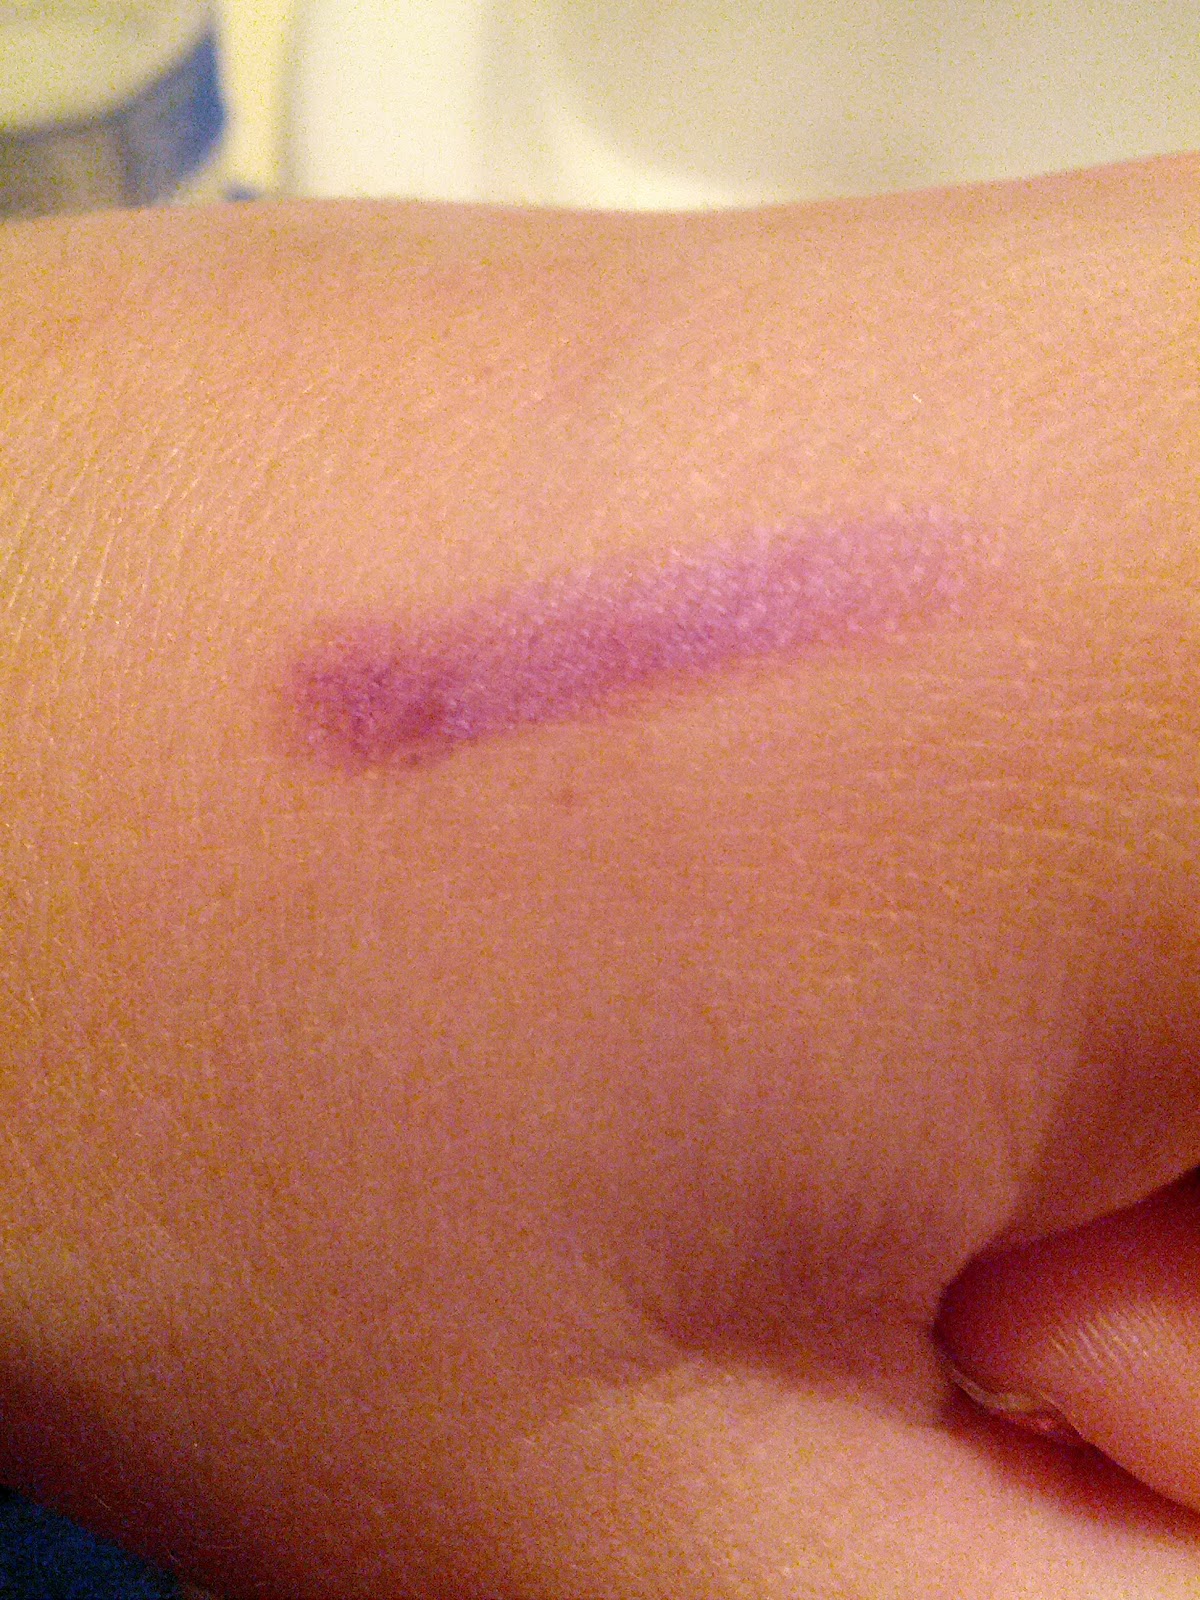
Next, I moved on to the eyes. I primed with Urban Decay Primer Potion in Eden because it matches my skin tone well, and I didn't want to cover my entire eye area with shadow. This allows the un-shaded areas to blend with the shaded. Then, I grabbed my Urban Decay Vegan Palette for all of the colors I needed for this eye look, including liner. Using a flat brush, I patted Urb (a glittery, pale green--discontinued, sadly, but Mildew with a light hand would be close) onto my lids. Then, using a slightly fluffier shadow brush, added Half Baked (mettalic gold) to the area directly above the crease. Smog (shimmery copper bronze) went into the actual crease, with the outer corner blending down into the lash line. I deepened the crease with a little Twice Baked (deep chocolate brown shimmer). I then ran a thick line of Smog along the lower lash line, and darkened it by running Twice Baked from the outer corner to about the halfway point. Then just blend, blend, blend, blend, blend. Finish by lining the upper lash line with 24/7 Glide-On Pencil in Zero, and winging the outer corner slightly, then adding just a bit into the very outer corner of the lower lash line. Here's a lousy picture:


What you end up with is a neutral smoky eye with a pop of color and a pretty gleam. This is great for day, but could easily be darkened up for evening.

Moving on! I used Maybelline Age Rewind concealer in Neutralizer (I'm that pale, y'all) to cover any redness and blemishes. This does brighten up my skin, but feel free to use your fave brightening concealer. Benefit Erase Paste is awesome if you can find your shade. After that, I used Rimmel Stay Matte setting powder (I know! Matte?!) and pressed it into the skin with a buffing brush. Basically, I just wanted to set the powder and knock off a little bit of the shine. It won't completely matte out your skin, but it will keep you from looking like a disco ball. Plus, we're not done with the "glow" yet, anyway.

Next, I filled in my brows with a matching shadow from the E.L.F. Brow Kit, and added mascara to top and bottom lashes (I like Buxom, but whatever you've got will work). Then, I took Too Faced Sun Bunny Bronzer and dusted the tops of my cheeks, bridge of my nose, chin, and hairline. This is a light bronzer with some shimmer (not glitter), and it's really the key to the lit-from-within look we're going for. After that, I took a bright rose pink blush (Stila, discontinued) and a lighter baby pink blush (also Stila, also discontinued, but check out NYX in Rose Garden to kill two birds) that both contained just enough of a sheen to keep from being matte (think: satin) and blended them onto the apples of my cheeks, blending outward across the cheekbone. Benefit Watt's Up highlighter (and really, I'm just going to flat out recommend this--it's gorgeous) went into the inner corners of my eyes, across the brow bones, and onto the cheekbones. I finished off the look with Rimmel lipstick in Crush--a creamy, coral-y nude with a luminous sheen--applied over a lip balm (Fresh Sugar, but again, whatevs).  Here's another lousy picture:


If you have MAC Shy Girl or NYX Pumpkin Pie, then you have this color. They're all pretty much identical.

I didn't line it because I didn't want any harsh lines for this look. Also, I'm lazy and needed to get out the door.

It seems like a lot of steps and products, but really, this only took a few minutes, and...well, yeah, there are a lot of products. Not going to argue with you there. Still, it was surprisingly easy and quick to apply this look, and I have been positively giddy with the results. I hope this helps you guys, and I'll see you tomorrow.

Oh! If this works for you, let me know in the comments! Also, you've probably noticed there are no links. That's because you can either use whatever you have that is similar, or you can find these products readily at Sephora, Ulta, Beauty.com, Drugstore.com or your favorite brick and mortar drugstore (except the discontinued stuff...whoops).

Thursday, July 19, 2012

Frugal Friday, Thursday Edition: Wet N Wild Idol Eyes Creme Shadow Pencil

One of my favorite go-to products is the Urban Decay 24/7 Shadow Pencil. You can apply straight from the pencil, smudge it out with your finger, and head out the door. It pops easily into a purse or travel bag, and the color lasts forever with zero creasing--no primer needed. It's a must-have, god-send, holy grail product. So, imagine my delight when I saw that Wet N Wild had their own version, with a beautiful $1.99 price tag. Drugstore dupes for the UD pencils are popping up everywhere, but this is the least expensive version I've seen, yet. I snapped up one in Techno, a gorgeous opalescent purple, and gave it a go this morning. Here's how that went down:

This is super saftey-sealed! I ended up having to go all "HULK SMASH!" on it to get into the product. Pro tip: have scissors handy.
First, here's a quick look at the pencil, itself, with a Revlon lip butter for size reference. I didn't photograph the pencil against the UD for size comparison, simply because my UD are deluxe travel size and not standard length. It wouldn't have been a true assessment. For the curious, the WNW is about the same size as the UD deluxe travel.


Now, here's a swatch. The shade is really, really pretty. The pigmentation could be a little better, but it's certainly not bad, and the lilac color payoff is just lovely. With the opalescence, it practically glows. Gorgeous.

Here it is before I set it with shadow. Pay no attention to the lack of any other makeup on my face...ugh...
I wish I could leave it at that, but I can't. There's, unfortunately, a downside. The product is downright oily. It feels greasy on your skin, and slides around badly. That swatch on my hand wiped right off with a tissue. I tried to set the pencil with a matching powder shadow from the Too Faced Glamour To Go Dream Edition (it's a perfect match), and had problems with my brush wiping off the pencil!!! Seriously!!! Even with the shadow, it creased like crazy, and has required multiple touch-ups. I'd take a picture, but I'm pretty sure I'm down to only shadow now. It just didn't work.

Can it work? I think so. I think it could work over a very dry primer, like UD Primer Potion, and set with a colorless powder, like Ben Nye's Neutral Set.

Final Verdict: 4 out of 10. The color and price are amazing, but it's going to take a lot of work to wear it well.

Wednesday, April 18, 2012

Building Kits and Looking for Glitz

The indie film company that Thomas founded is filming in a few weeks. There's no crazy hair or makeup involved, and pretty much all of the actors and extras are taking care of their own. Still, I like to keep a kit on-set for touch-ups. Plus, there's always the possibility that someone will show up wearing either no makeup or way too much--I like to prepare for all contingencies. Now, I'm not a makeup artist (and if one would like to volunteer, that would be unbelievably cool and I'd love you forever and be your best friend), but I've been at this long enough to handle the basics to ensure folks show up on camera.

Of course, that doesn't mean I'm breaking out the high-end products. Good God, no! Along with figuring out that extra blush and bronzer are necessary to avoid being washed out by the lighting equipment, I've also learned that anything you bring on-set has the distinct possibility of being broken. You're in a crazed atmosphere, with people constantly bustling by, extension cords as far as the eye can see, and a lot of hurry, hurry, hurry. It's also not a big-budget studio setting, so I might be doing makeup off of a folding table, picnic bench, or, most likely, out of my car. I'm careful, and I keep a neat kit, but accidents happen. I know that if I brought my $25 NARS Orgasm (sorry, Mom) blush, and it was knocked off a table and broken into a million pieces, I'd be devastated. However, if the same thing happened to a $3 copycat...eh, I'd get a new one. Not a big deal.

With that in mind, I hit the drugstore around the corner to pick up a few staples. I have greasepaint out the ears, but my "normal person" makeup was severely lacking. I needed translucent powder, a couple of blushes, and a matte black eyeshadow (every kit should have a matte white, matte brown, and matte black shadow. Period. I've heard this from a few different places, and it's completely true. You'd be shocked how much you can do with just those three products). Rimmel makes a great translucent powder, so that was pretty much a no-brainer. Wet 'n' Wild had a pretty rose blush, along with a peachy pink that looked so much like my NARS it wasn't even funny (I'll have more on those another day), and a matte black eyeshadow that vlogger DivaMakeupQueen raved about recently. But it was while picking up the eyeshadow that I noticed this beauty:


Wet 'n' Wild Color Icon Single in Trashed

This made me think so much of Urban Decay Stardust in Void that I had to give it a shot. For two bucks, even if it was terrible, I wouldn't really be out anything.
Photo Credit: Urban Decay
It's not terrible. Not even close. It's also not even close to Stardust, but it's still a darn good eyeshadow. Trashed goes past "highly pigmented" into "scarily pigmented". Yesterday, I added just a dab to my outer corners, but it blended all the way through my crease, along my lash line, and added a little color to my lid. It didn't sparkle, though, which was a little disappointing. Today, I decided to go whole-hog and do a black lid, just to see how much glitter I could get, and it wasn't much.

I do want to point out that I did not use a shadow brush to apply this. I was terrified of how much fallout there might be from thickly packing on such a densely pigmented soft shadow. Instead, I used my blending brush to pick up enough for a thin layer, and applied two "coats" to each lid. There was almost no fallout from using that method, and I ended up with deep black lids with a lovely satin finish. There's just not very much glitter. Also, the packaging, while attractive, is insanely difficult to open. Like, "keep a butter knife handy" hard to open.
Lid: Trashed, Highlight: Stila Kitten, Liner: Urban Decay Zero,
Inner Corner: Urban Decay Sin, Lashes: Tarte Lights, Camera, Lashes,
Brows: E.L.F. Brow Kit (Med) and Treat and Tame (Deep),
Skin: E.L.F. Mineral Foundation Warm/Benefit Porefection/Benefit Bo-ing
Wow. That looks like a ton of makeup, but it really only took a few minutes. I keep a small stash of seasonally appropriate makeup on my counter, so I don't really have to think too much in the mornings. I'm not good at thinking in the mornings...

Anyway, overall, I'm really happy with my purchase. Sure, I was looking for more glitter, but for two bucks, I really can't complain too much. This one's not going in the film makeup kit. It's going on my counter.

Final Verdict: 8 out of 10. It's beautiful, it's pigmented, it's cheap as all get-out. It's just not glittery, and a pain in the rear to try to open.

Monday, April 16, 2012

Profusion Review: Naked 2 and Midnight Emergency Dupes

Okay, today's post is going to be crazy long and ridiculously picture-heavy, but please stick with me, because I think you'll find it's worth it.

Backing up, on Friday, I posted about some 99-cent palettes at Walgreen's. Basically, I said they didn't suck, and that 12 shadows for a buck was a deal too good to pass up. They're about the same consistency as MAC shadows, are wonderfully pigmented (considering the cost, anyway), and looked like they might possibly contain some Urban Decay dupes. I also said that they looked uber-glittery in the pan, but that it didn't seem to show up as sparkly on skin. So far, that's the only thing I've been wrong about.

These suckers are beyond glittery. Sometimes, that's a good thing. Unfortunately, I'd planned to use these for film, and glitter doesn't usually work for that. Plus, they fallout something awful. Still and all, I have to recommend these. There are ways of getting around fallout, and my UD Midnight Emergency is just as bad, if not worse. Also, I should point out that not all of the Profusion Cosmetic Colour Me Glow palettes are glitter palettes. Since my last post, I've picked up two more. Palettes 05, 06, 07, and 08, have chunky glitter. Palettes 03 and 04 are shimmer only. I tossed those in my film makeup kit and called it a win.
*Please note: there are no matte shades. Only shimmer and glitter.

Saturday, I decided to give the shadows a test drive. I used three colors from palette 07:

Left side, top: all over/highlight. Middle section, #2: lid. Left side, bottom: crease
Here's how that came out:

Yeah, I know, my brows are a mess. Also, I was standing under a vent for that first shot, so my hair's going all over the place. The first shot was indoors, and the second was in sunlight. The shadows feel awesome going on, blend well, and are nice colors, if a little sheer. Some hues need to be packed on, and some are incredibly pigmented. It's just hit or miss, but for a buck, I can deal.

I applied them over a sticky pencil primer (I used UD Sin, but NYX would be a good choice, too), and they held up fairly well. These shots were taken a couple of  hours apart, and there's no creasing. There is, however, a ton of glitter, obviously, and it took some serious cleaning up to be able to walk out of the house without feeling like a disco ball. That said, I wore UD Midnight Emergency colors on Sunday, and had the same experience.

I'm not going to rate this on a scale of 1-10, like I usually do. The shadows are just too varied for that. There are enough really good, quality, pigmented shadows that I can confidently say you'd get more than your money's worth. Heck, if you find just one that you love in each palette, you're ahead of the game. When in Walgreen's, do yourself a favor and grab a couple. You'll be glad that you did. 

And...as I mentioned before, there were a few Urban Decay Midnight Emergency and Naked 2 dupes. A couple aren't exact, but are really, really close. A couple, however, are spot on. Let's take a look at Midnight Emergency:


Here, we have on the left, Midnight Cowboy and a close imposter from Profusion palette 06. It's not right on the money--a little too pink, not enough gold--but I'd put it at about 75%. On the right, though, are Midnight Rodeo, and a dead ringer, also from 06. In fact, they're right next to each other in the pan. They're the third and second shadows (respectively), in the middle section of the palette.


Here's a pretty spot-on dupe for AC/DC, also from Midnight Emergency:


The dupe is on the left, and AC/DC is on the right. The Profusion shade is a little brighter, but so close that I'd put it at about 90%. It's in the middle section of palette 04, and is the fourth shade in that row.

It's the one in the center, next to the pink.
Okay, now on to Naked 2 dupes. There are three, and they're actually three of my most used colors:


I was so excited over this one! Chopper is one of my favorite colors out of Naked 2, and Profusion has a near exact dupe. Chopper has a little more depth to it, but I'd call this about 90%. It's in palette 03.


Suspect (also in the Rollergirl palette) also has a reasonable dupe in palette 03. It's a little warmer, and again, lacks some of the depth of it's UD counterpart, but I'd give it a solid 85%.

Chopper's dupe is the middle shade on the left side of palette 03. Suspect's imposter is the one right below.

This dupe (on the left) for Busted (on the right) is, possibly, a smidge cooler, but it's about a 95%. You might get some glitter with it (I didn't here, but you could), but I was shocked at how similar these were. It's in palette 05, middle section, fifth shade.

The one in the center, here, next to the light beige.
I really hope this has helped some, and that you've enjoyed this little search for cheap alternatives. Let me know what you think (and how you think I did!) in the comments.
Related Posts Plugin for WordPress, Blogger...